Connect QVR Pro to QNAP NAS via QIoT Suite Lite
Step_1: Open QVR Pro and set the event
- For information on installing QVR Pro, please visit https://www.qnap.com/en/how-to/tutorial/article/how-to-install-qvr-pro-beta
- Once installed, start QVR Pro, and open "Event Management".
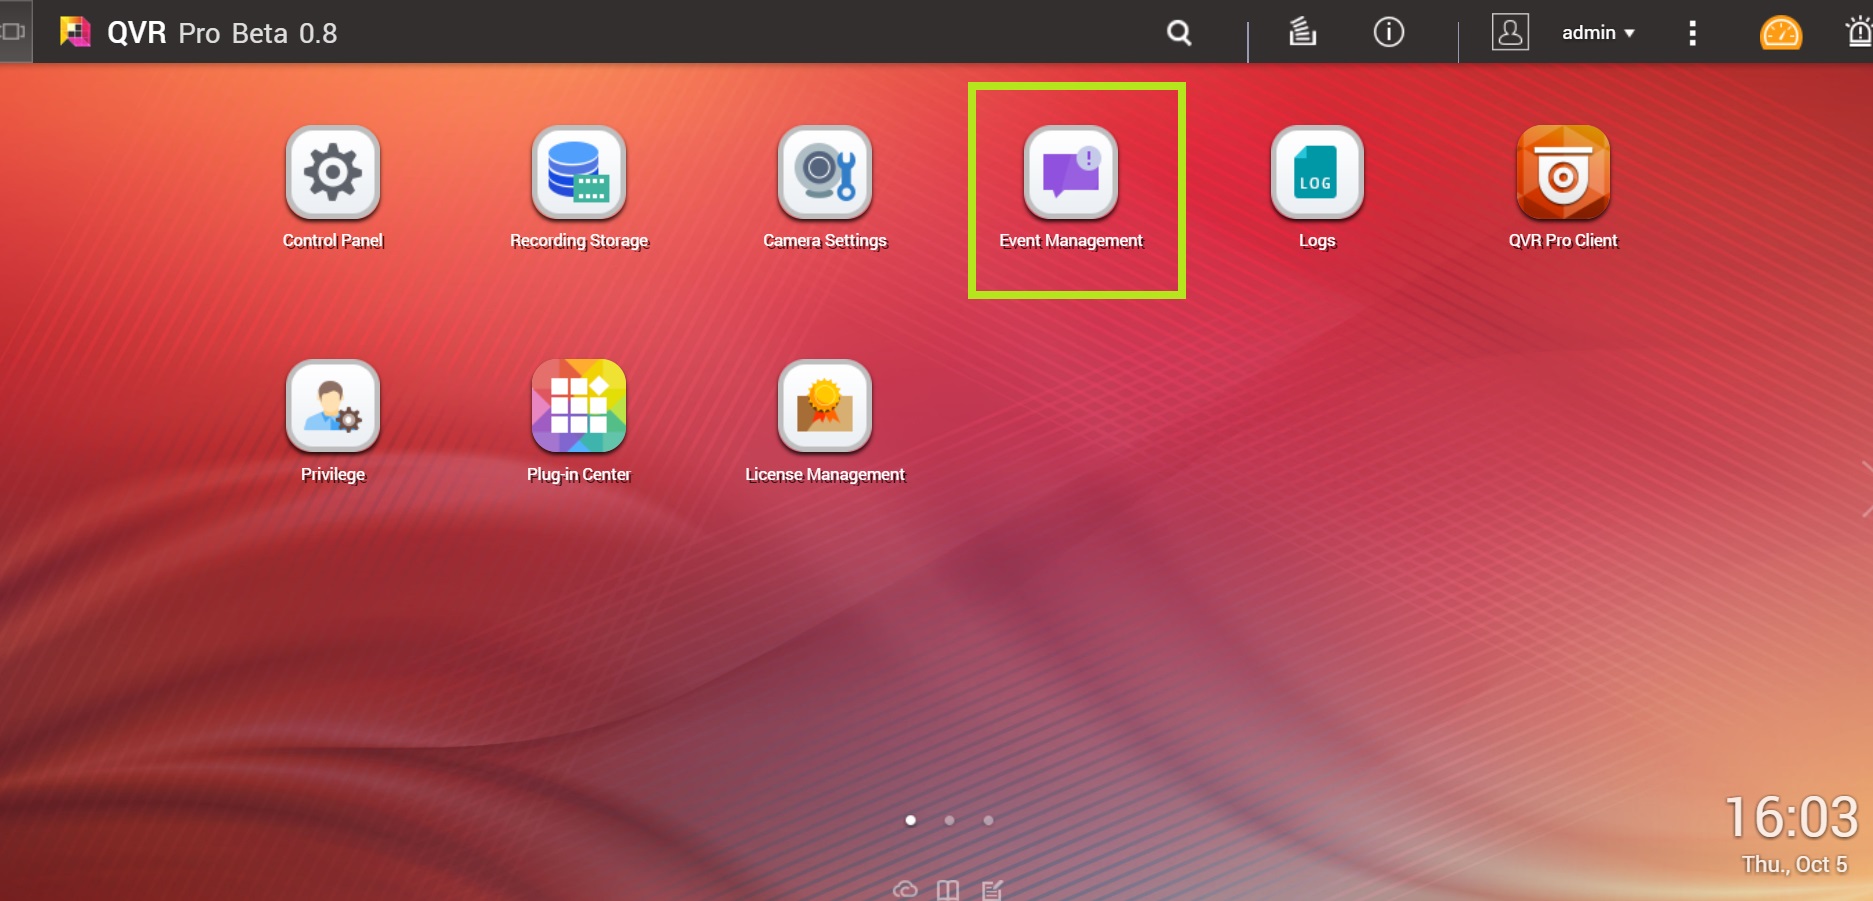
- Click "+" to create a new rule.

Enter a "Name" (for example: QIoT). (The "Description" is optional)
Click "Next".

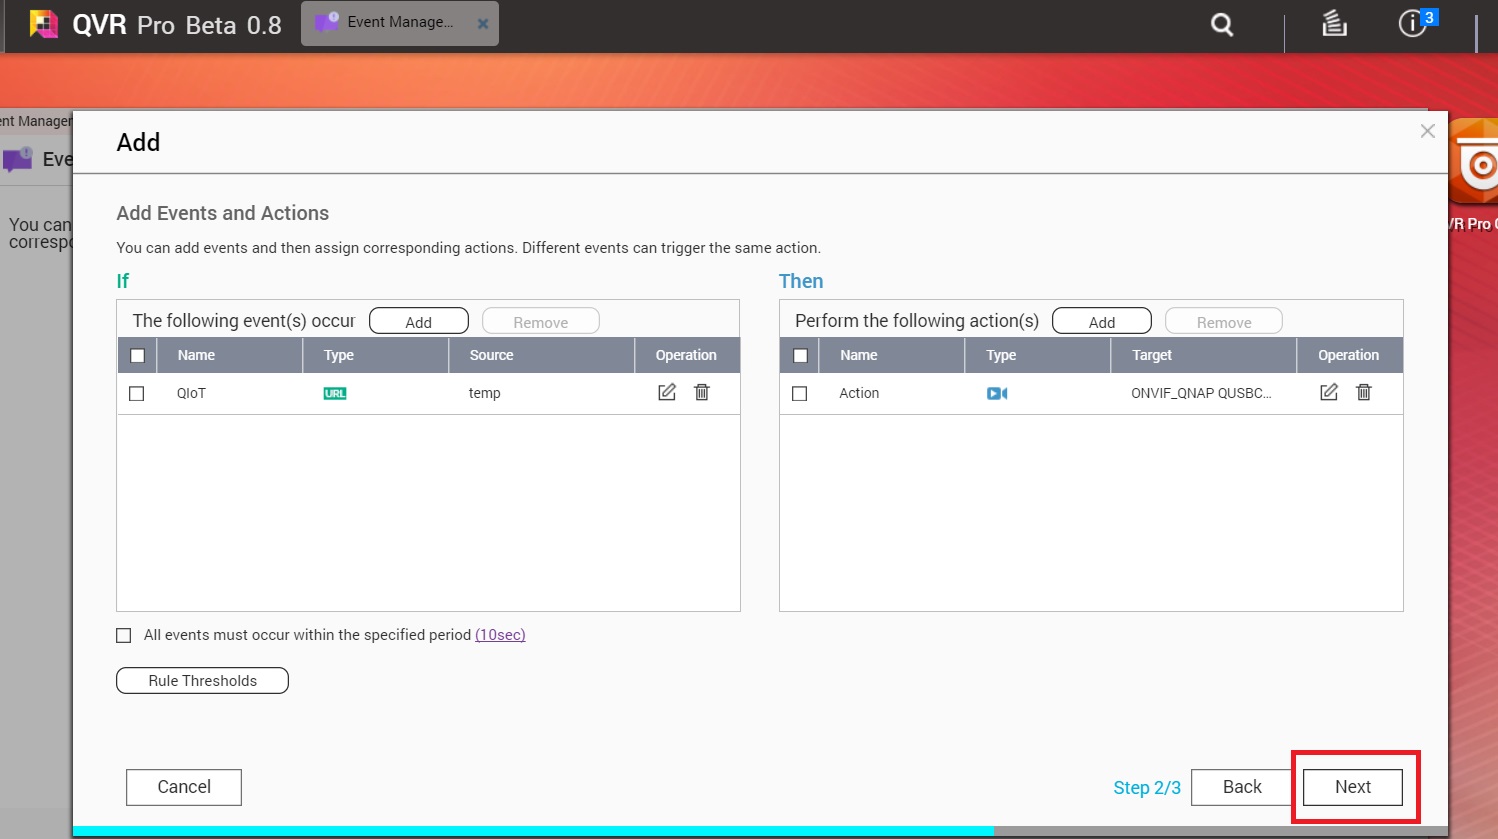
- In "If -->The following event(s) occur", click "Add".
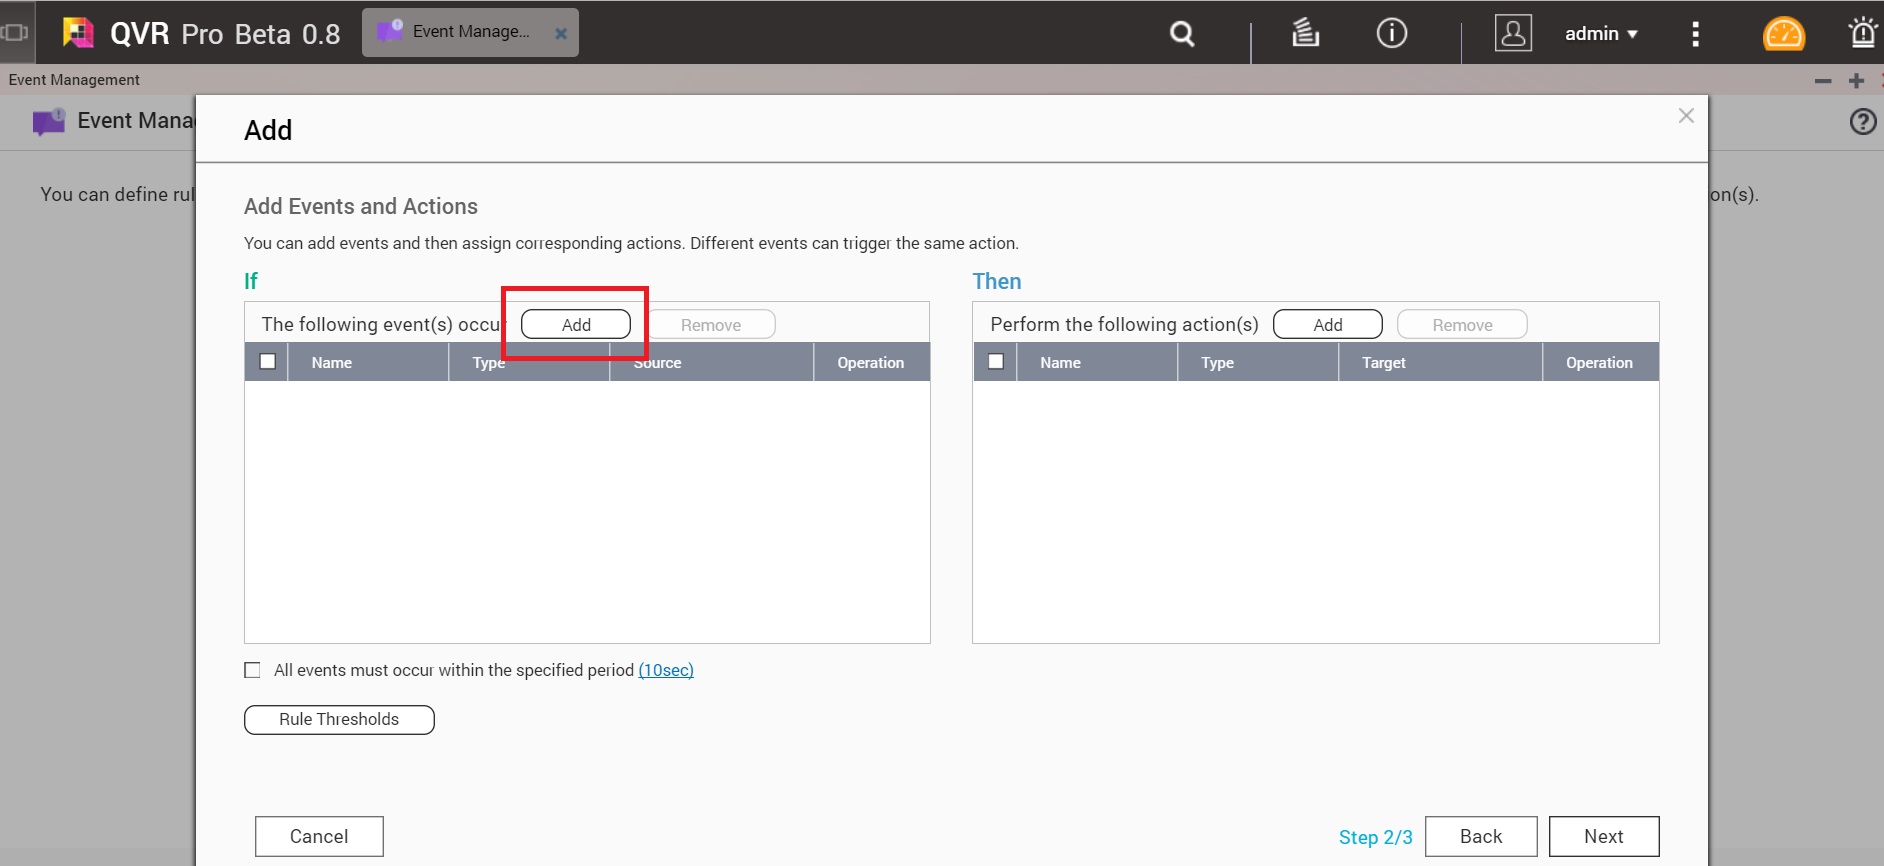
- In "Add Event":
- Name: Enter a preferred name (for example: "QIoT"). Type: Choose "Event URL".

- Enter an "Event source name" (for example: "temp").
- After entering the Event source name, a URL link will appear. Click "Copy to Clipboard".
- Click "OK".

- In "Then -->Perform the following action(s)", click "Add".

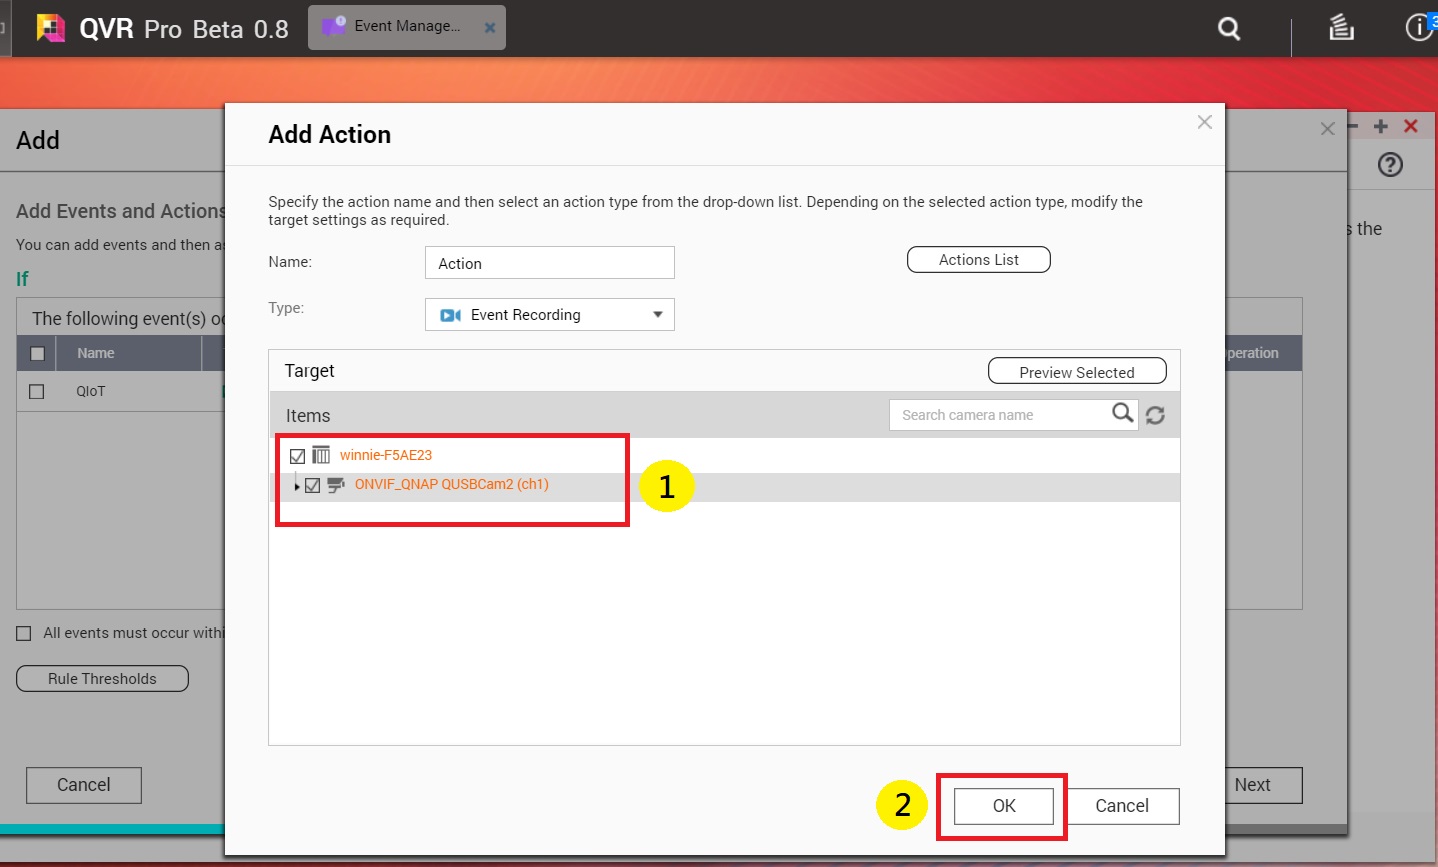
- In "Add Action":
- Name: Enter a preferred name (for example: "Action"). Type: Choose "Event Recording".

- In "Items":
- Choose a camera ( If you have not set up a camera, refer to the Quick Setup Tutorial of QVR Pro Beta 0.8 for instructions)
- Click "OK".
- Click "Next".
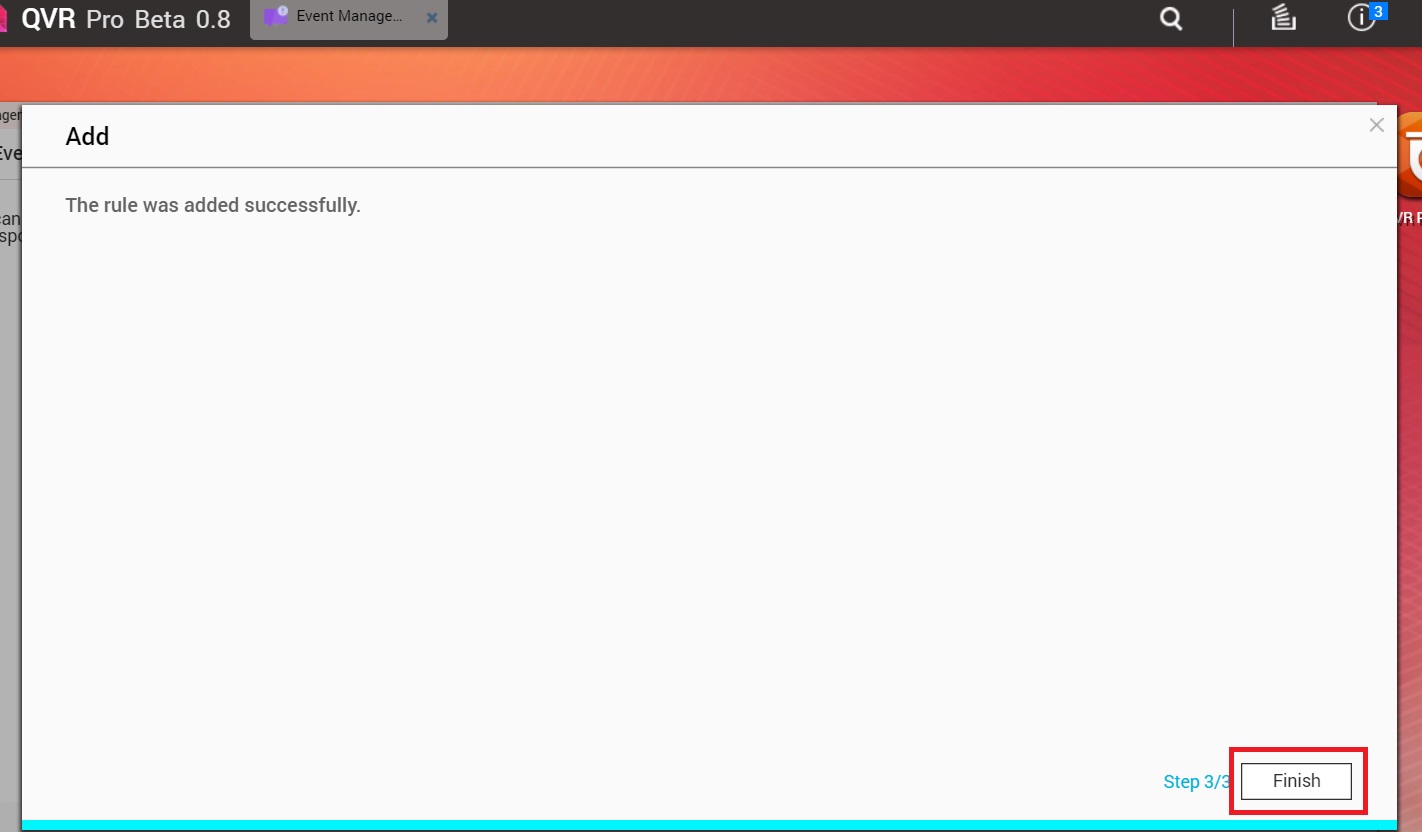
- Click "Finish".
Step_2: Setting QIoT Rule http request node
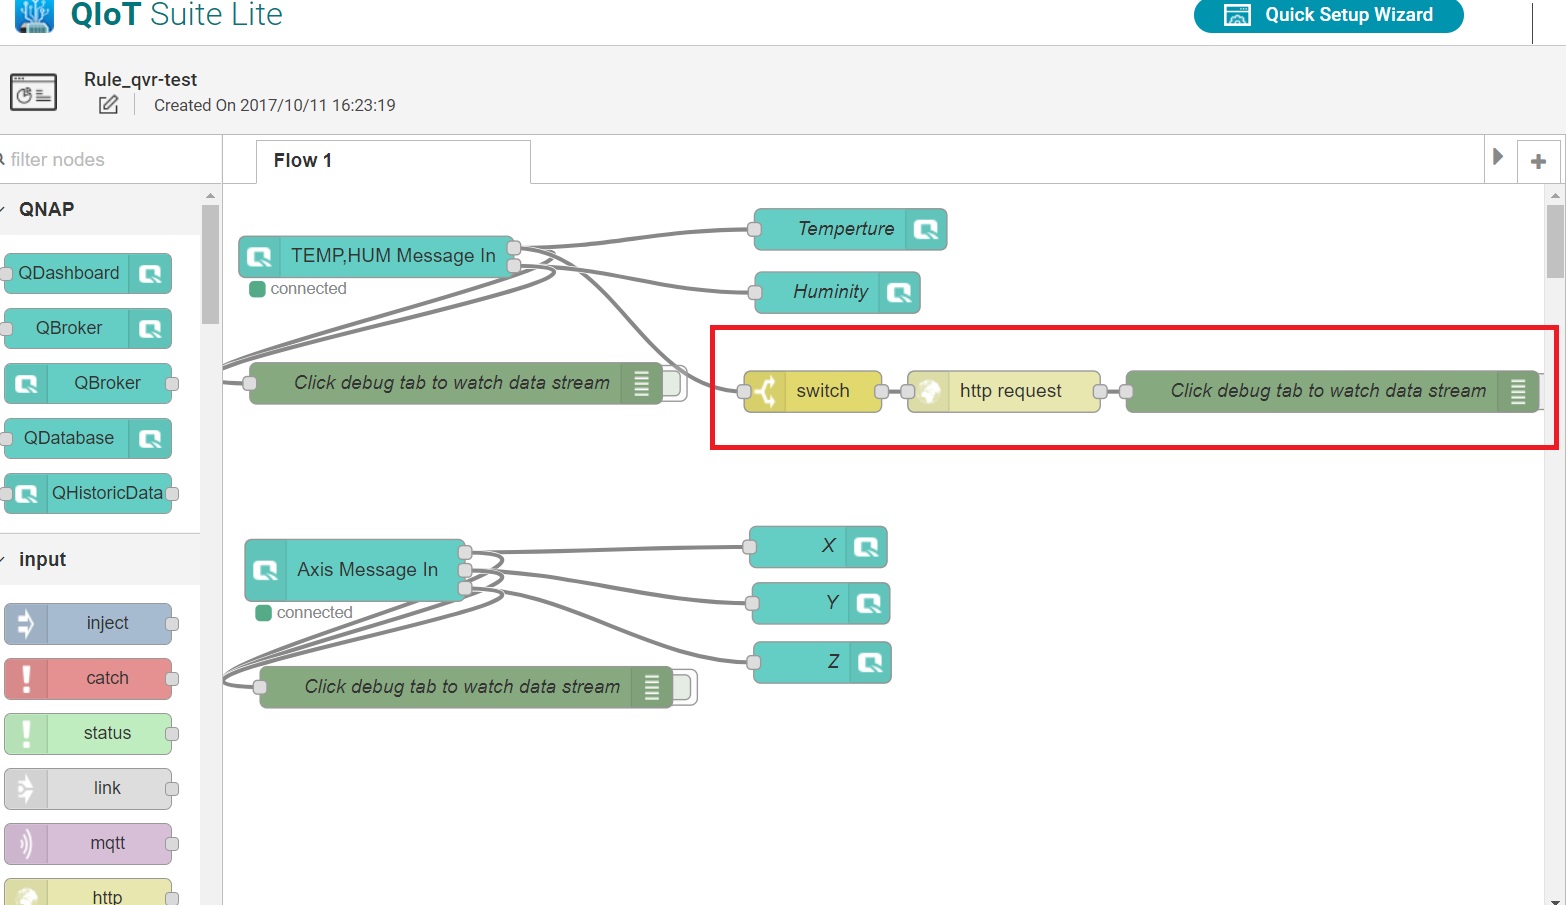
- Open your IoT Application and click "Rule".
- In "function", choose "switch" and "http request", and then pull them into Flow 1.
- Click "Switch". (In here, set up the rules yourself).

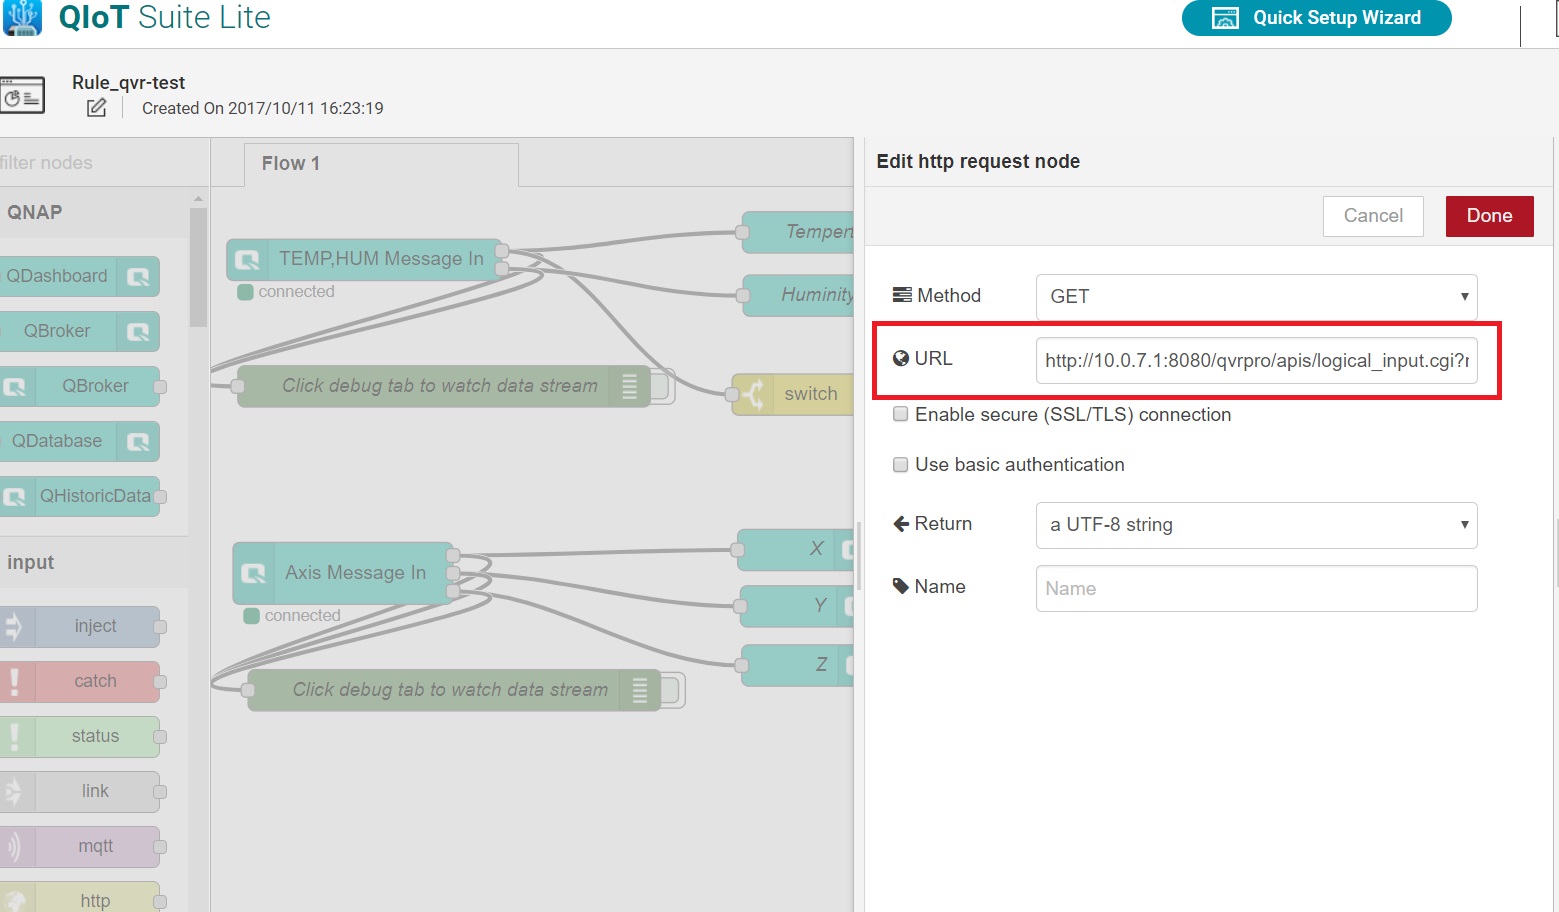
- Click "http request":
- In "URL: Enter the URL link you have copied from QVR settings. (If QVR Pro and QIoT are used in the same NAS, the IP address must be changed to "10.0.7.1")
- Click "Done" and "Save".
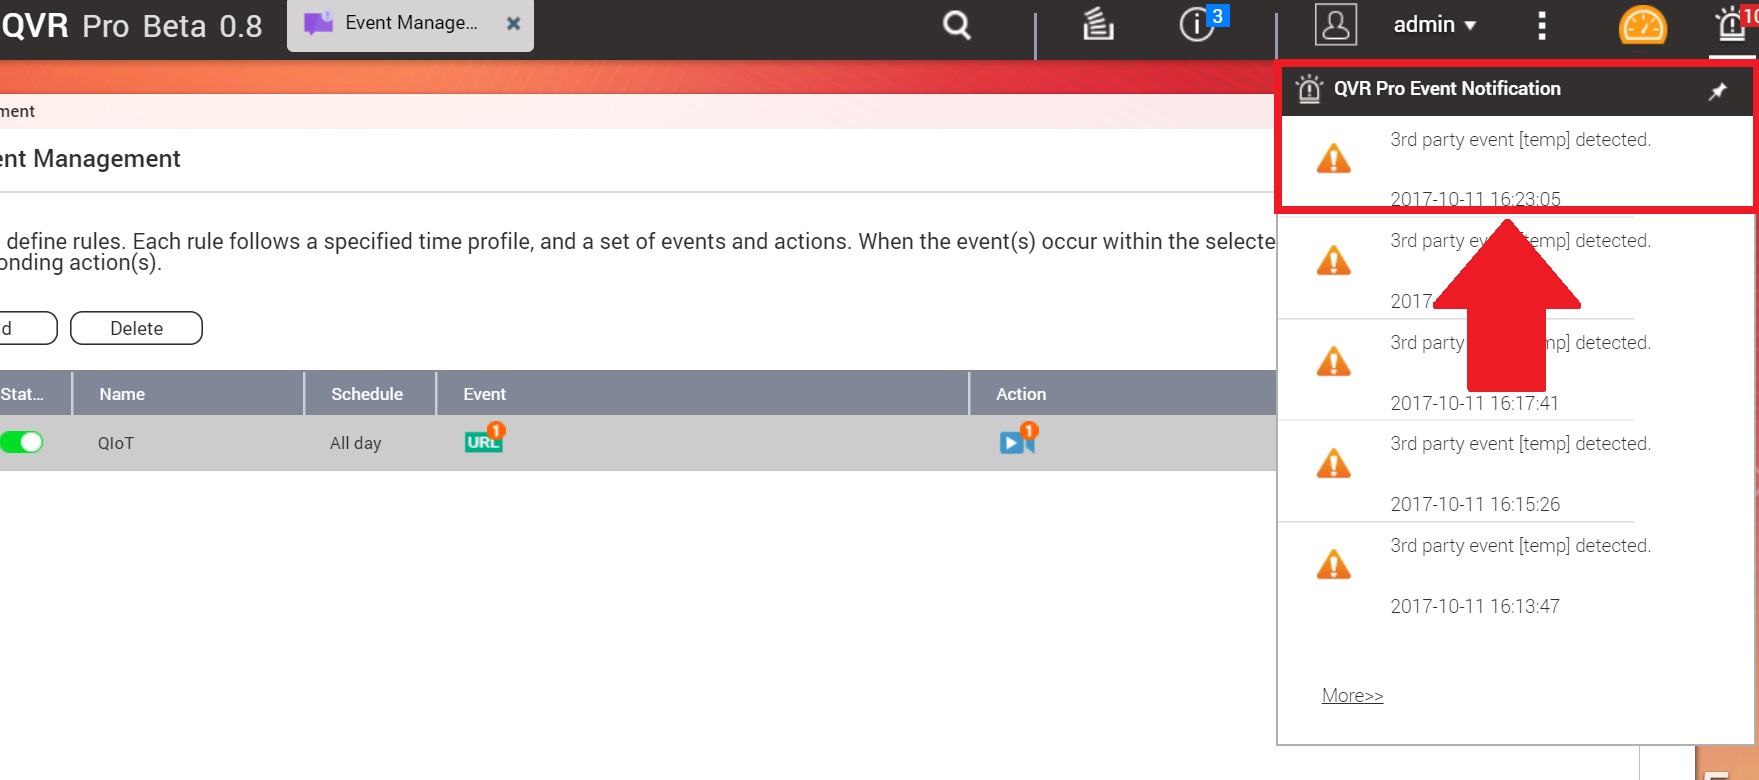
- If QIoT received the rules settings it will notify QVR Pro to capture video. You will see the message "event [temp] detected".